How to Choose the Right Clay for Handbuilding vs. Wheel Throwing

Most potters spend a long time choosing glazes and very little time choosing clay, which is a bit like picking a car by its paint. The clay body decides how the material behaves under your hands: whether a wall will stand, whether a slab will sag, whether a join will crack in the kiln. A body that throws a clean cylinder at twenty centimetres can slump into a sad pancake the moment you roll it into a slab. And a coarse, toothy sculpture clay that holds a coil beautifully will fight you on the wheel, tearing at your knuckles.
None of this is about good clay and bad clay. It is about fit. Here is how to read a bag of clay with your technique in mind.
What the Wheel Actually Needs
Throwing is a process of controlled deformation. You push a spinning mass outward, upward and back again, and the clay has to move with you rather than shear away. That asks for three things: high plasticity, fine particle size and a consistent level of moisture through the whole lump.
Grog is the wheel's mild enemy. Small amounts of fine grog help a body stand up and dry evenly, which matters for tall forms, but coarse grog grinds against wet hands and opens small tears in a thin wall. Porcelain, the least forgiving of all bodies, is essentially grog-free for this reason — beautifully smooth, famously unwilling to be pushed.
The wheel also wants a body that holds its shape after the pressure stops. A very soft, sticky clay will throw easily and then collapse under its own weight overnight. You want clay that feels firm enough to resist your thumb, not clay that feels like cold butter.
What Handbuilding Asks For Instead
Handbuilding is largely a waiting game with structural consequences. Slabs need to stand on their own edge without bowing. Coils need to support the weight of the coil above. Joins need to survive drying, and then survive the kiln. Here a little grit is your friend: grog reduces shrinkage, opens the body so moisture can escape evenly, and gives slabs a memory of their shape.
That is why sculpture and handbuilding bodies often run coarse. The trade-off is in the joins. Gritty clay doesn't bond as readily to itself, so score properly, use a slip made from the same body, and compress the seam with a rib or your fingers rather than trusting a light smear.
Plasticity: The Quality Everyone Mentions and Few Define
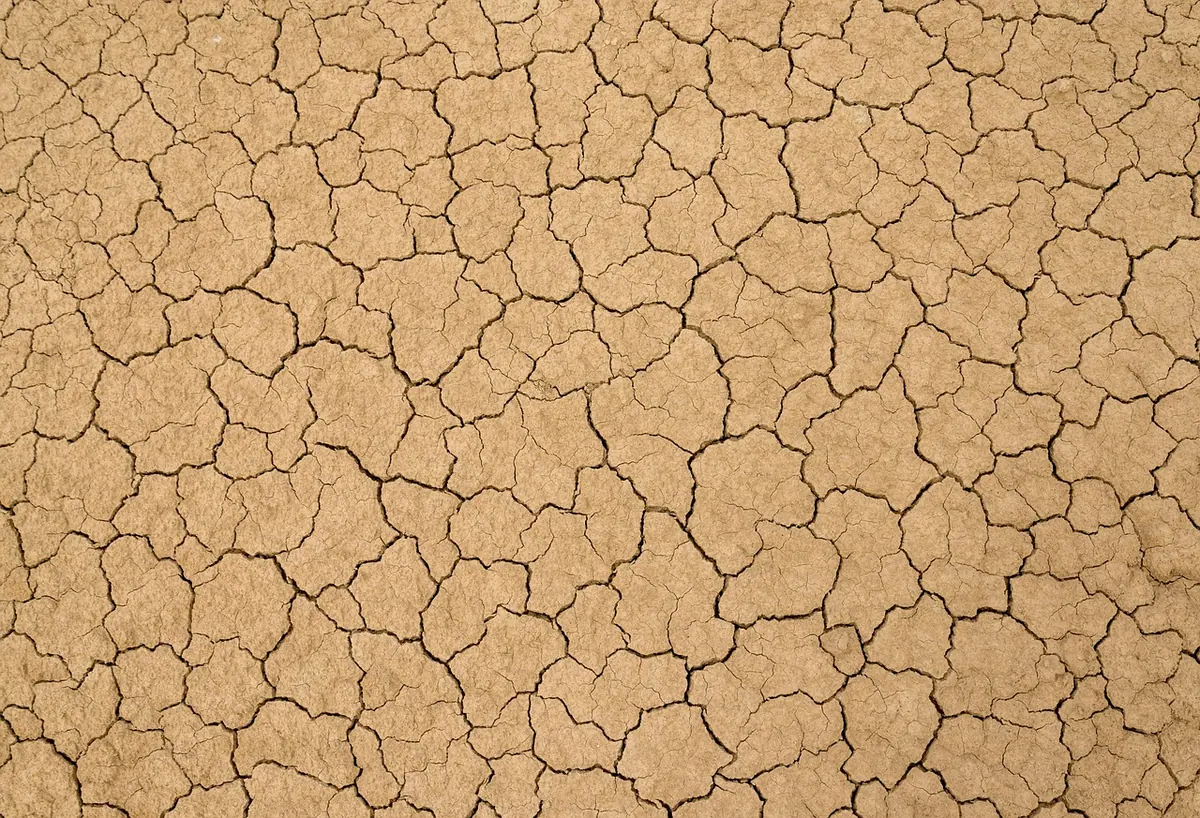
Plasticity is the ability of clay to change shape without cracking. It comes mostly from fine clay particles — ball clays are added to bodies precisely to boost it, and a small amount of bentonite will make a stubborn body workable. Too much of either and the clay turns sticky, shrinks heavily and dries into cracks.
You can judge plasticity in a minute without any equipment. Roll a coil about the thickness of your finger and bend it slowly around your hand. If it cracks at the bend, the body is short. Roll a thinner coil and wrap it around a pencil — that is a fairly demanding test, and most good throwing bodies will pass it while coarse handbuilding bodies will not.
Grog: Percentage, Mesh and the Feel of It
Grog is fired clay that has been ground and screened back into the body. Two numbers matter: how much, and how coarse. Mesh size runs from fine powders that feel like sand to chunky particles you can see from across the studio.
- Fine grog (roughly 0–10% in a throwing body): adds stability and drying tolerance without tearing your hands. Good for large thrown pots and for press-moulded work.
- Medium grog (10–15%): a workhorse for slabs, tiles and handbuilt forms where you want the clay to hold an edge.
- Coarse grog (15–20% or more): sculpture territory. Superb structural memory, hard on the fingers, and it needs careful joining.
- No grog at all: porcelain and smooth white stonewares. Glorious surfaces, unforgiving on the wheel and prone to slumping in slabs.
A practical warning: coarse grog can look charming on an unglazed rim and disastrous on a fine, tight join. If you love the texture but need reliability, consider a medium-grog body for the form and a smoother clay for small attached details.
Water Content and Working State
The same clay behaves differently depending on how wet it is, and this is where most beginner frustration lives. For throwing you want clay that has been wedged and is uniformly soft-firm — soft enough to centre without force, firm enough not to collapse. For handbuilding, especially slab work, you want clay noticeably firmer than that. Slabs rolled from soft clay will bow and crack as they dry, no matter how good the body is.
If your clay is too wet, slice it into thin slabs and leave it on a plaster bat or a porous board until it stiffens, turning it once. If it is too stiff, seal it with a little water in a plastic bag and be patient. Recycled clay works well for both techniques once it has been dried to a consistent state and wedged — but always wedge it properly, or you will throw a pot with soft pockets that fail at the worst possible moment.
Test Before You Commit to a Box
Clay bodies vary between makers and between batches, so test rather than assume. A small trial takes about an hour and saves a shelf of failures.
- Throw a test cylinder. Fifteen centimetres is enough. Note how it centres, how it takes a thin wall, and whether it slumps by morning.
- Roll a slab and drape it. Lay a 6 mm slab over a bowl or a bottle and see whether the edge holds or bows.
- Make a joined test piece. Two slabs joined with slipped, scored seams, dried slowly, will tell you more about a handbuilding body than any description.
- Measure shrinkage. Score a 10 cm line into a flat tile, measure it bone dry and again after firing. Most bodies shrink somewhere in the region of 5–12%, but you want your number for that body before you build a lid that must fit.
- Fire it. Keep a fired tile from each body labelled with its name, firing temperature and shrinkage. It becomes your reference library.
Keeping a Small, Sensible Clay Library
You do not need many bodies. Three covers almost everything a studio potter makes: a smooth, plastic stoneware for throwing; a medium-grog stoneware for slabs, tiles and larger handbuilt pieces; and one coarse sculpture body if you work big or build solid. If you fire to earthenware temperatures, the same logic applies — a smooth red throwing body and a toothier handbuilding body will do more for your work than any single all-purpose bag.
Store each one labelled, keep notes on how it threw or draped, and record the shrinkage figure on the box. Over a season you will build a picture of which clay suits which job, and the choice will stop being guesswork. That is the quiet pleasure of this part of the craft: the material is talking to you the whole time, and learning to listen is most of the skill.
Photo: FeeLoona / Pixabay